Showing posts with label make-up. Show all posts

Monday, January 21, 2013

Urban Decay Naked

If you don't have Urban Decay's Naked Collection, do yourself a favor and head over to Sephora and make your most favorite make-up purchase evah!

This is the first Naked.  There is now a Naked 2 and a Naked Matte Collection.
 
I love make-up, I use all kinds, I sell gloMinerals, but this is one of my favorites!!  I love, love, love this collection, it's a great price, and it's so versatile!

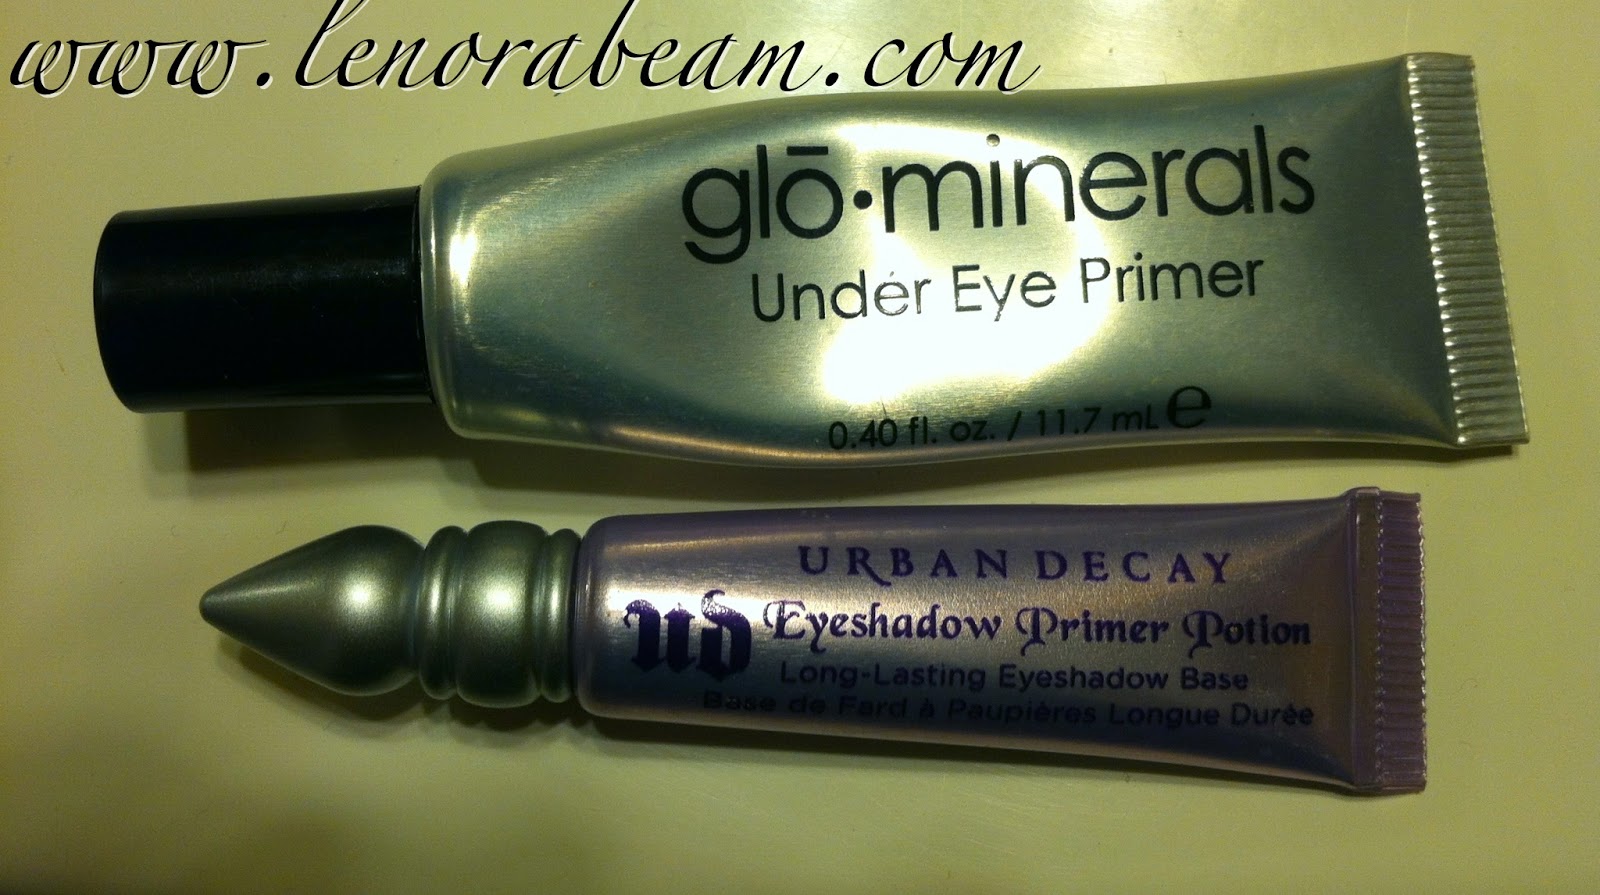
Always start with eye primer.  I use Mary Kay's all the time but Urban Decay makes a great one
also!  I always use gloMinerals Under Eye Primer under the eye.
 
 
Use your Eye Base brush and apply Naked to the entire eyelid.
 
 
Use your Angled Eye brush and apply Gunmetal in the crease of your eyelid.  Don't forget to blend, blend, blend!
 
 
Apply Sin with your Texture brush to the base of your eyelid.
 
 
Use your Micro Precision Eyeliner and apply liner to your upper and lower lashes about halfway across.
 
 
Smudge Gunmetal shadow over your liner with your Smudge brush.
 
 
I did not take a picture of this but a lot of times, not all the time, I will also use the Smudge brush and apply Sin to the inner corners of my eyes.  Adds a little pizazz!
 
Complete your eyes with curling your lashes and applying mascara.  Click here for mascara tips.
 
 
Enjoy your Naked Collection!  What's your favorite color combo?

Monday, January 7, 2013

Make-up Brush Essentials

 
Which make-up brushes are essential?  There are so many out there... Which ones do you really need?  Even I can get lost in Sephora just gazing at the plethora of brushes they have!!
 
I've established what I would call a "starter kit."  The must haves I use every day.  Of course, after I took this picture, I started thinking of more...  But I'll try to stay on task.


1) Kabuki brush
Use for applying pressed and loose foundation.

2) Blush brush
Use for applying blush and bronzer.

3) Eye blender
Use for applying your hilighter color in eye shadows.

4) Eye base
Use for applying all over color to your lids.

5) Angled eye
Use the pointy end for applying your darker color in your crease.  This brush is very versatile.  For years it was the only brush I used for shadow!  Use the flat end to apply your base color.  Use the pointy end for your darker shadow in your crease, and then use the pointy end again in your hilight color.  The drawbacks with using it for all three things is residual shadow, the eye base brush is wider and easier to use for applying base color and the eye blender brush is focalized for applying the hilight.  Easier application with the specific brushes  but you can wing it with just the angled eye in a pinch.

6) Dual brow
Use with brow powder to fill in your brows.

7) Smudge brush
Use this with your darkest eye shadow and smudge it over your eyeliner.  It blends your eyeliner, keeps it from being a harsh line, and ties it in with your eyeshadow. 

If you use liquid foundation, I highly recommend a foundation brush (not pictured).  For starters, I can't stand getting foundation on my hands.  Using a brush allows your to smooth out your foundation and also to not waste it.

For applying concealer, a camouflage brush or precision camouflage is a must (also not pictured.) Sort of the same as with a foundation brush, it allows for smooth application and precise application. 

Contact me to purchase brushes.  Which brush is your favorite?

Saturday, November 10, 2012

gloMinerals Ballerina Eyeshadow Trio Tutorial

I love this trio!  When you need a fresh, clean look, this is the trio to go to.


  First, always start with eye primer.  Today I used Urban Decay's.


I also love gloMinerals Under Eye Primer ($24).  If I forget to use it, I can immediately tell!  It brightens your undereye area and reduces wrinkles.

Start with the lightest pink color and use the base brush and apply it to your entire eyelid.

Next use the angled eye brush and apply the gray color to your accent area.  It's so important to use the angled eye brush and blend, blend, blend!

Use your texture brush and apply the darkest pink to the base of your eyelid, just above your lashes. 

I love using my gloMicro Precision Eye Pencil in brown.  Apply it thicker at the outer corners and taper it in to about 1/2 across your eye.

Curl your eyelashes.  This is for real.  Curled eyelashes make you appear awake and your eyes appear larger.  Don't just curl them once.  Do it several times until you have your desired result!  Click here for my mascara tutorial.

Apply your mascara and voila!  Super beautiful eyes.

Wednesday, September 19, 2012

Pucker Up Buttercup

If you're looking for perfect lips that last and last, this is the tutorial for you!  First, you need the right supplies.  Foundation, lipstick, lip liner, and gloss. 


Start with clean lips.  Apply foundation to your lips.  This helps your lipstick last longer and keeps the color from bleeding.  I use gloMinerals Pressed Foundation in Natural Medium applied with a kabuki brush.


Don't forget to get in the corners of your lips and completely cover them.  Now, it's time to apply your liner.  Outline you lips, don't forget your corners, and your pout.  I'm using gloMinerals lip liner in Natural.


After you've applied your liner, it's time for your lipstick.  You can apply with a lip brush or directly from the tube.  Mine is Rose Petal by gloMinerals.


Don't forget the gloss!  Your perfect pout mush shine!  My favorite thing about gloMinerals lips products is that they are smooth and creamy and have no flavor!  Nothing yuckier than tasting your lipstick...
 

Contact me for more information about gloMinerals.


Tuesday, September 11, 2012

The Best Eyelashes

 
Here's a quick tutorial on having amazing eyelashes.
 
 
image credit: google images
 
 
When do you apply mascara? 
 
Always apply mascara after you've applied your eyeshadow and eyeliner.  Eyeshadow tends to "drift" and will cover up your mascara if you do it first. 
 
After you've applied your eyeshadow, you need to curl your lashes.  I recommend Shiseido's Eyelash Curler.  It is truly amazing.  Click here for more info on the Shiseido Eyelash Curler.
 
image credit: google images
 
I'm serious about curling your lashes!  Do it several times to achieve the look you want.  Curled lashes make your eyes appear larger and wide awake!  Ooh aah...


Now, it's time to apply your mascara.  Maybelline One By One Volum Express is my go-to favorite mascara.  I used to love Falsies by Maybelline but this is so much better.  No clumps, it separates and defines each lash.

My. Very. Favorite. Mascara.


Get it in Blackest Black.  It's your eyelashes for Pete's sake.  Why are we applying mascara if we don't want them to show up?

I always start with the tops of my top lashes.  Apply mascara to the topside, squiggle the brush back and forth for maximum coverage.  Then apply to the bottom of your top lashes.  Apply mascara to your bottom lashes.  Don't forget your inner and outer corners- you have lashes there too!  Repeat your mascara application to add impact.


Enjoy your fabulous luscious lashes!